

Installing metal table legs is a relatively straightforward process, but there are a few key points to ensure a safe and sturdy outcome.
Here’s a step-by-step guide:
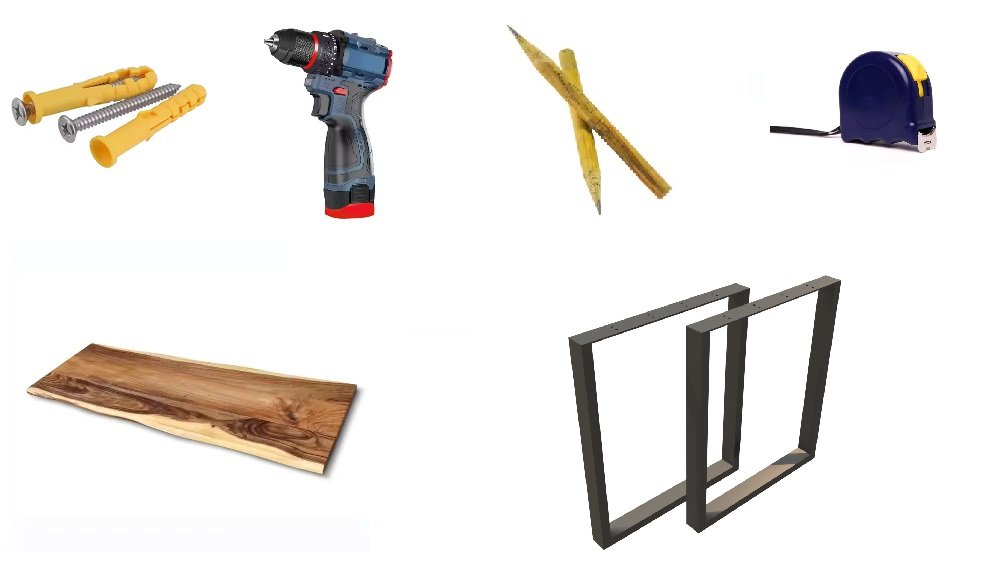
A: Material
- Metal table legs, wooden table legs. Choose a leg that matches the size and style of your tabletop.
- Desktop: Please make sure your desktop is clean and ready for installation.
- Screws or bolts: Choose the right screws or bolts for your table top and leg material. Drill with a suitable drill bit, and if necessary, you will need a drill bit for pre-drilling.
- To make sure your table is stable, you need to prepare: Tape measure: for accurate placement of the legs. Pencil: Used to mark the leg position. A screwdriver or electric wrench to tighten the screws or bolts. Screw glue can increase strength.
B: Description:
- Plan the layout: Decide where you want to put your metal table legs. For stability, small to medium-sized table legs require 2 legs, while most tables require at least 3 legs. Consider the size and weight of the tabletop, as well as its intended use.
- Mark the location: Use a pencil to mark the exact location of the leg attachment points at the bottom of the tabletop, as far as possible in the same proportion of distance between the legs and the edge of the table.
- Pre-drilling (if necessary): If you are using hardwood or dense materials, pre-drilling can prevent the wood from splitting. Use a drill bit that is slightly smaller than the diameter of the screw or bolt. Please check whether the size of the mounting hole is correct again before punching, the wrong hole punching on the desktop is irreversible.
- Connect the outriggers, place the outriggers in the designated position, make sure it is aligned with the marked position. Use screws or bolts to secure the metal table legs to the tabletop. If you use bolts, use nuts to secure them.
- Leveling and tightening, using a spirit level to ensure that the table top is flat and stable. Tighten all screws or bolts, reinforce with glue or epoxy, and for added strength and stability, you can apply glue or epoxy to the attachment points or screws before fixing the legs.
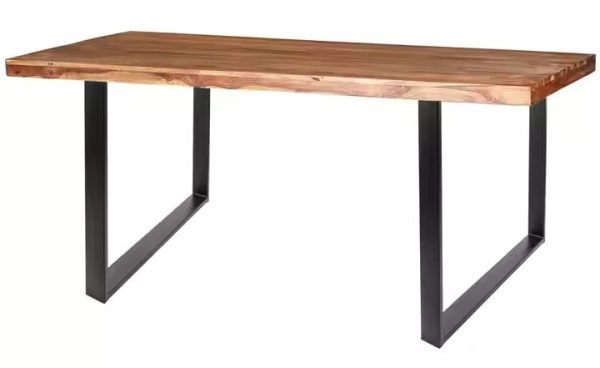
- Enjoy your table, once all the legs are attached and tightened, your table is ready to go!
Important:
Consider the weight: Choose sturdy metal table legs that can support the weight of the table top and whatever you intend to place on it.
Check the foot’s mounting plate: Some feet are equipped with a mounting plate to make installation easier and safer.
Use appropriate fasteners: Use screws or bolts that are long enough to pass through the table and secure the metal table legs. Do not overtighten with brute force, overtightening can damage wood or metal.
Check the stability: Once your table is assembled, test its stability by gently shaking it. By following these steps and tips, choose the style that best suits your desktop and overall aesthetic. You can confidently install metal legs and create a sturdy and stylish table.